Thursday, September 22, 2011

You Capture - Industrial

This week's You Capture was Industrial. I really thought that this challenge was going to be hard. I live in a typical German village, we don't have any industrial plants or anything like that. I certainly didn't feel like driving to the big city just to snap a few photos, so I decided to take a walk after work one morning and see what I could find. It turns out that tokens of our industrialized life are everywhere.


Take for example telephone and cable poles (above shot taken in foggy morning conditions, same pole below during bright sunny conditions).


I also found this adorable car. I don't know if it counts as industrial, but I'm sooo using it. It was too cute not to snap. Linking up to Beth's blog over at I Should Be Folding Laundry

Wednesday, September 21, 2011

Roasted Pears with Goat Cheese

As I may or may not have mentioned a million times, I'm addicted to Pinterest. There's so many fabulous finds out there, but I really love pinning recipes. I'm not too adventurous in the kitchen (I tend to stick to the same old recipes) so I really love getting out there and trying something new. Yes, I own a cookbook. No, it's not nearly as much fun as seeing a pin on pinterest. Here's my attempt at Roasted Pears with Goat Cheese (as adapted from HERE).


What You Need:
2 ripe but firm pears
3.5 oz goat cheese, crumbled
3/4 oz almond slivers
1 sprig rosemary
2 tbsp honey
2 tbsp butter

What You Do:
1. Wash the pears and slice them lengthwise into halves. With a small sharp paring knife and a spoon remove the core and seeds from each pear, leaving a round well for the filling.

2. Heat the butter in a skillet and brown the pears, skin side down, on low heat for about 10 minutes. Preheat your oven at 350ºF (180ºC).

3. Place the pears in a ovenproof dish and pour the cooking butter on top. Add half a cup of water in the ovenproof dish. Bake 10 to 15 minutes.

4. Meanwhile, gently toss the goat cheese with the almond slivers and the rosemary in a small bowl. Season to taste. I added some chives.

5. Remove the pears from the oven. Divide the mixture among the pears, mounding it on top of the indentation. Spoon a bit of honey and bake them again for another 10-15 minutes. Serve immediately.

Tuesday, September 20, 2011

20 Week Photography Challenge Week 9

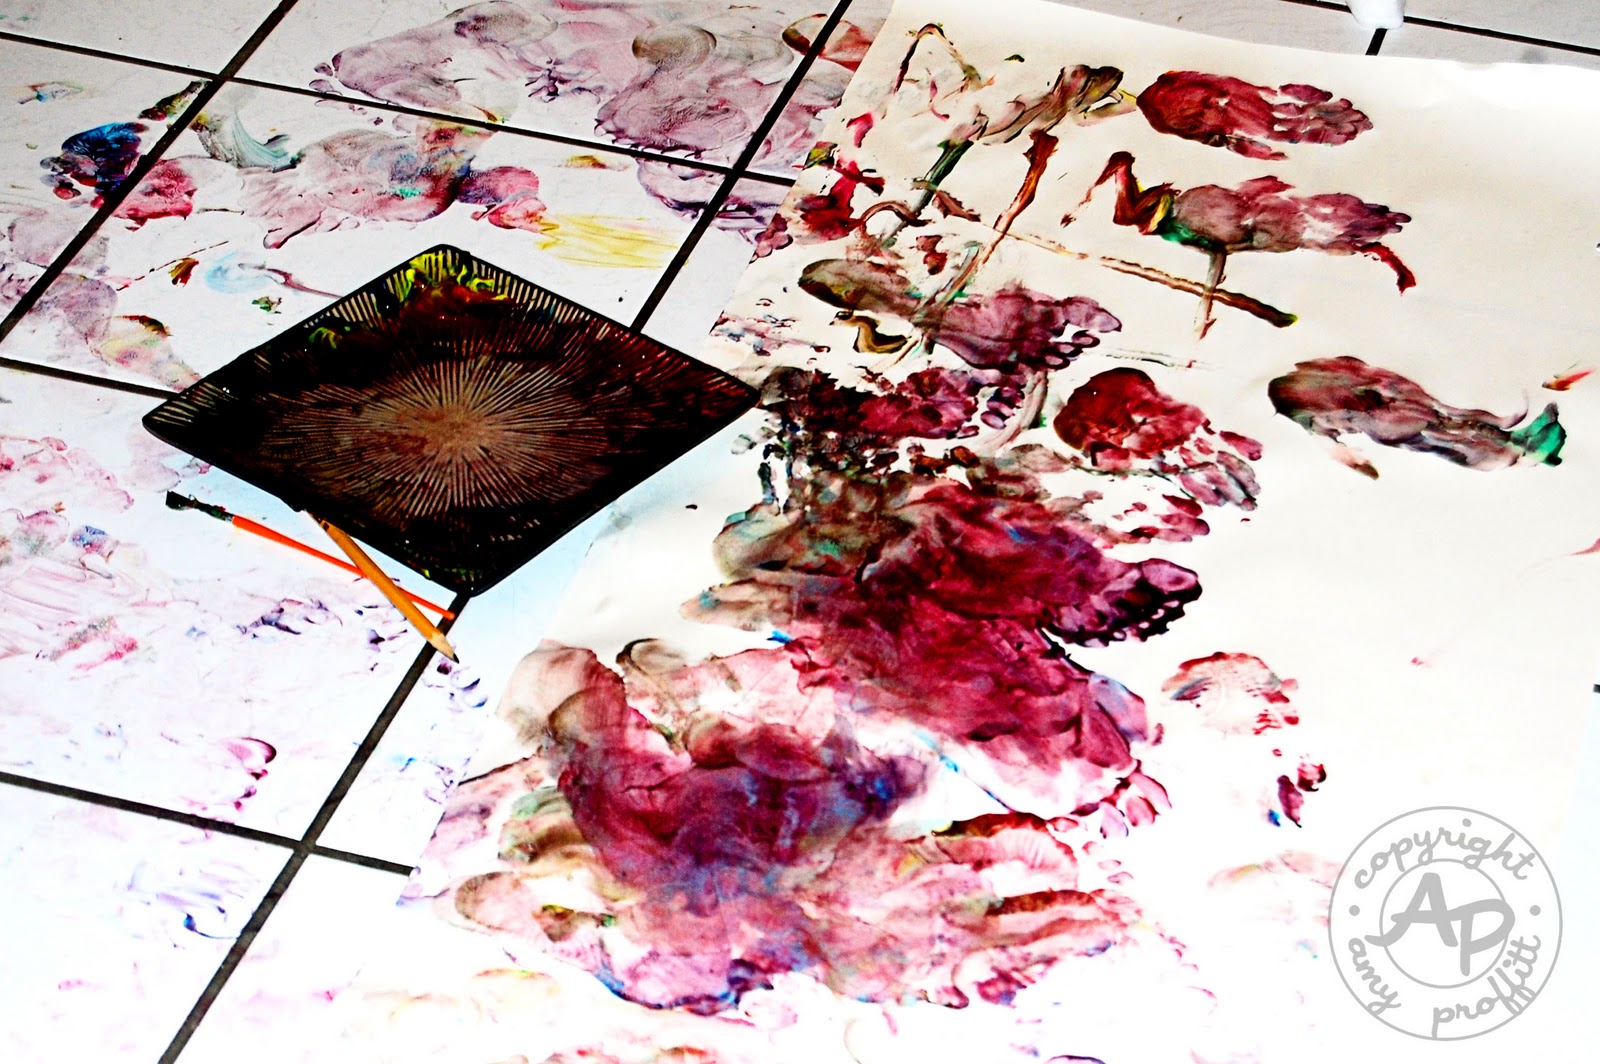
This week's 20 Week Photography Challenge is "A Mess." Wow. That's so incredibly easy to capture around here. I have two children, aged 3 and 2. My house is always a mess. I guess maybe the hard part is finding a bit of the mess to photograph that's visually captivating.

Here's some of this week's messes:


Linking up to A Step in the Journey. Go check out some other lovely messes on Thursday!

Monday, September 19, 2011

Number Skills

Around here we had a very busy weekend of doing absolutely nothing. Well, a load of laundry and the dishes may have gotten done, but that's all. I've been battling this massive cold for over a week now so I haven't had much energy. One thing I did manage to do was creating a number recognition game for my oldest son. I got the idea from Pinterest. (side note, if you're on pinterest leave your link to your profile below so that I can follow you!)

As you can see, it's really very simple but tons of fun for the little ones (plus educational, and you can't beat that!). All it takes is a paper plate, a marker or two, and a sharpie. I divided the plate into ten different spaces and put dots ranging from one to ten into each space. I used different colors to make it more interesting. Then I wrote the numbers on each clothespin that corresponded to each dot. It was Drake's job to correctly match up each numeral with the correct number of dots. He had lots of fun counting the dots and using the clothespins.


Who knew mastering our numbers could be so much fun! You can check out the original post (and my inspiration for this game) here: Naturally Chic Mama

Friday, September 16, 2011

20 Week Photography Challenge Week 8

This week's challenge is black and white. I love shooting in color and then adjusting my files to be black and white (always saving the color versions of course in case I want to go back). I find that the best subjects in black and white are usually people. I'm not a big fan of landscapes in black and white (think Ansel Adams) though of course there are exceptions. Unfortunately since I've been really sick this week with a bug I haven't had much energy to take some photos. I took one which I'm submitting here:


This is my littlest guy. We were on the floor finger painting. The smudges on him are bright pops of paint. It was a messy but fun experience. Here's the color version, just so you can compare:


I think I actually prefer the color version. It gives a better narration I think. But since I'm sick and slacking on my photography challenge, that's all you get. But I will leave you with my all-time favorite photo that I took in black and white. I just absolutely love this photo of my father (Papa) with his oldest grandson (who is now almost four years old).


I love the tenderness of the pose, and the casualness of it. The juxtaposition of old life and new life. The way my dad looks to be breathing in this new baby smell of his first grandson. I think it's actually a better photo because they aren't looking at the camera. What do you think?

Linking up over at A Step in the Journey.

Wednesday, September 14, 2011

You Capture - Apple

This week's challenge over at I Should be Folding Laundry is apple. It'll be interesting to see everyone's take on this. Past challenges have been more open-ended (like a color or vague subject) but this one leaves little to the imagination. I can't wait to see everyone's take on the apple. Beth encouraged us all to be creative..hmm. Here's my creative and humble submissions for this week:


Check out all the great apple submissions tomorrow at Beth's blog.

Tuesday, September 13, 2011

Fall Wreath

You know all those cute photos that are blowing up blogs and pinterest of adorable yarn wreaths? Yeah, I just had to get in on the action. I actually created my yarn wreath about 4 months ago but just now got around to creating the flower embellishments. It's a really simple thing to create so I definitely recommend doing it if you're in a crafty mood and want a cute wreath. Here's my final creation:


I used a couple of different types of felt flowers. The four petal ones are from the Martha Stewart tutorial which can be found here: Martha Stewart. The large rosette in the middle I did following a friend's tutorial, which you can find here: A Bird and a Bean. Both were super easy.

Here's my quick tutorial for creating your own wreath:

1. Buy a skein or two of yarn (depending on how big your wreath is going to be). Purchase a wreath form while you're at it. And if you can find some fabric or felt to create the flower embellishments while you're at it, you're good to go.

2. Start wrapping your wreath form with your yarn. This will take loads of time and is the hardest part of this project because it requires loads of patience. I wrapped mine twice so that the white form didn't show through. I secured the end by a dot of hot glue.


3. Create your flowers. As many or as few as you want. Follow the tutorials on the websites linked above as those two wonderful women will explain things much much better than I ever will.

4. That's it. Enjoy!

Here's my wreath as part of my motley wall composition:


If you create a fall wreath (or any wreath for that matter) I'd love to see it! Send me a link in the comments. I'm always looking for new crafty ideas to steal inspiration.

LinkWithin

Related Posts Plugin for WordPress, Blogger...